Making stocking cloth butterflies pattern
Hi friends, back with a new butterfly. I hope you all got it. My earlier post got a little butterfly with yellow wings, that was my first try in making a stocking butterfly which came out good but was not that neat and perfect as it need to be.
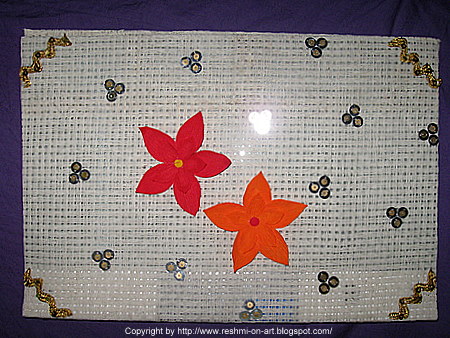
So here is my second try on making a stocking butterfly which was actually a perfect one and a neat one compared to the first, so i am much more happy in making this cute little white butterfly.
So here is my new butterfly with small little round wings and cute little orange body with aluminium wire antenna fixed to it.
You can fix this anywhere on your room or make cards or to gift boxs or anything.
How is my new butterfly? Do comment friends.

Related Posts - Stocking craft
Stocking Craft - Stocking butterfly
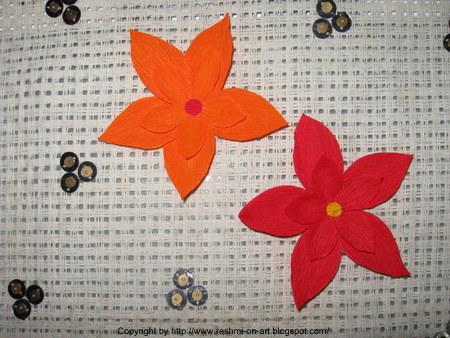
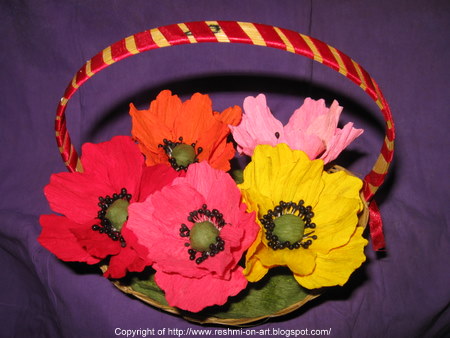
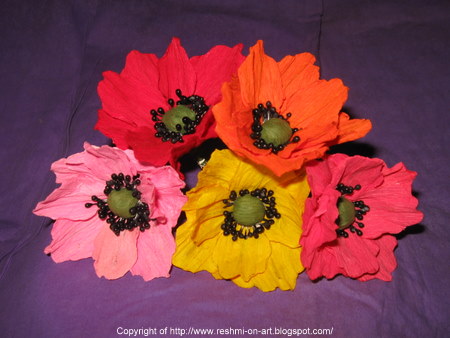
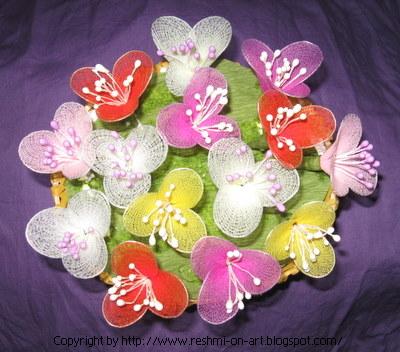
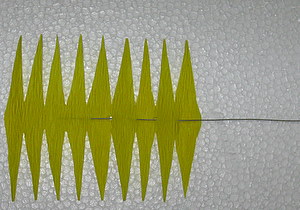
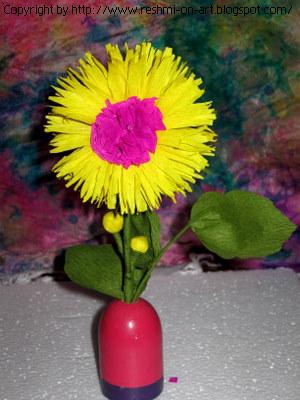
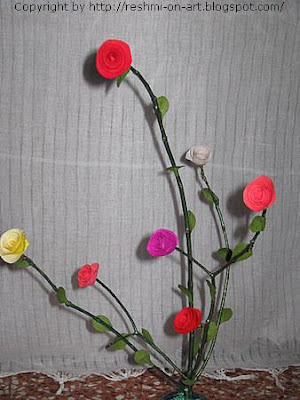
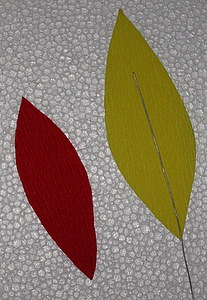
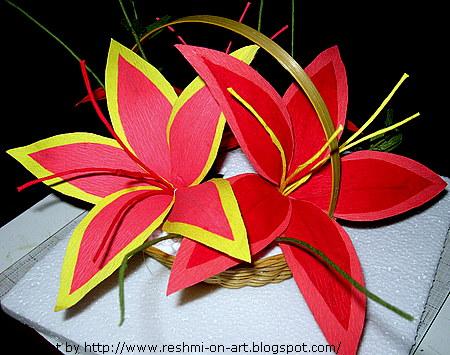
Stocking craft colourful flowers
So here is my second try on making a stocking butterfly which was actually a perfect one and a neat one compared to the first, so i am much more happy in making this cute little white butterfly.
So here is my new butterfly with small little round wings and cute little orange body with aluminium wire antenna fixed to it.
You can fix this anywhere on your room or make cards or to gift boxs or anything.
How is my new butterfly? Do comment friends.
Related Posts - Stocking craft
Stocking Craft - Stocking butterfly
Stocking craft colourful flowers
Labels: Craft